Recent Stories
-
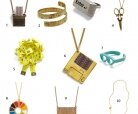
10 ModCloth Accessories For The Creator's Soul
-

Heart Rate Workouts That Make Time On The Treadmill Fly By
-

Sundance Style III: A Streetcar Named Desire
-

Me Oh My! You Are Sweeter Than Pie: DIY Mailable Mini Chess Pies
-

Moonshine Cherries & Bacon Frosting: 10 Valentine’s Gifts For Dudes
-

Go Mini For The Big Game, Menu #1: Super Sliders
19,
2012
Baby It's Cold Outside: How To Audio Trick Out Your Ear Muffs
Posted In: Tech | Posted By: Anj

You know we love us a pair of audio ear muffs (or four) but we couldn't help but think, there's gotta be a way we can easily DIY that. And wouldn't you know it? There is!
Materials:
- ear muffs
- headphones
- 1 8"x10" piece of felt
- needle & thread
- scissors
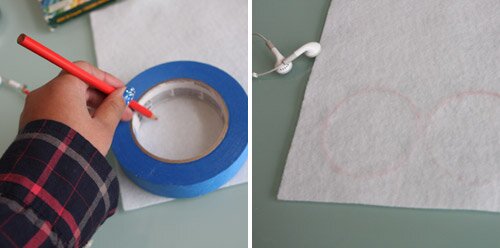
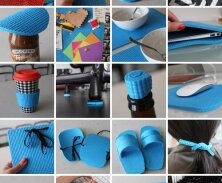
First, cut out two felt circles. It's up to you whether you want to match your ear muffs or use a contrasting color. We miss the snow out here in San Francisco so we went for an all-white snow bunny palette. We used a measuring tape to trace our circles, and a colored pencil to trace. Cut out the circles so your tracing lines don't show.
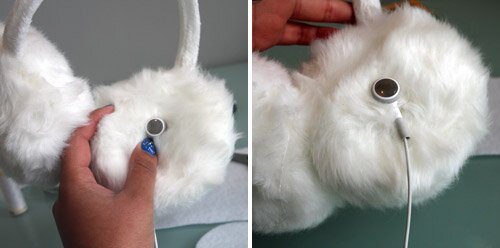
Next, position the headphones. The ones that work best are definitely earbud shaped, rather than in-ear, because the speaker part is flat. While holding one earbud against the center of one ear muff, sew a couple loops around earbud, attaching it to the muff. It's ok if its a little bit loose, as the felt will keep it in place. Repeat for the second muff.
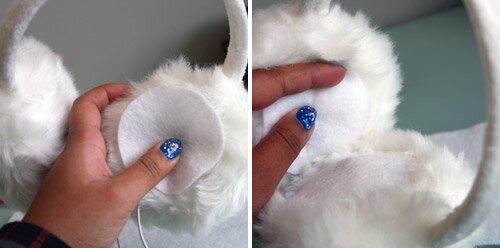
Now, the circles. We attached our felt circles using a ridiculously simple stitch similar to a whip stitch. Even the most novice sewer can tackle this stitch. You simply start with the needle behind the felt, sew through a layer of the ear muff, bring around the top of the felt, and sew through the front of the felt again, and keep repeating around the circle. Do this with both muffs and you're done!

As you can see, I am still working on my friendship bracelet-style headphone decoration, as well as cross-stitching my iPhone case. It's going to be a textile-meets-tech (tech-style!?) bonanza!
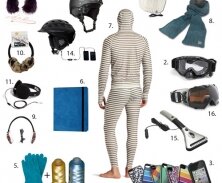
And if these ear muffs aren't enough snowy tech for you, check out our 16 Favorite Tech-cessories For Winter.
You might also like
-

The Areaware Alarm Dock Turns Your iPhone Into an Old School Flip Clock
-

Baby It's Cold Outside: How To Audio Trick Out Your Ear Muffs
-
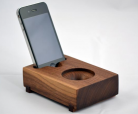
A Greener, More Beautiful Sound Dock for Your iPhone

I help people discover innovative products and ideas to live more simply, beautifully, and creatively. Read more.
GET IDEAS IN YOUR INBOX